I love this multi panel format! It’s great for pushing painting ideas around as well as expanding your process. Working this way is cost and time efficient too as you are working on many small scale paintings all on one sheet of paper. Starting with self imposed limitations such as timed exercises, choosing limited materials or color can boost your creative explorations. The examples below were from a recent painting workshop I taught on color.
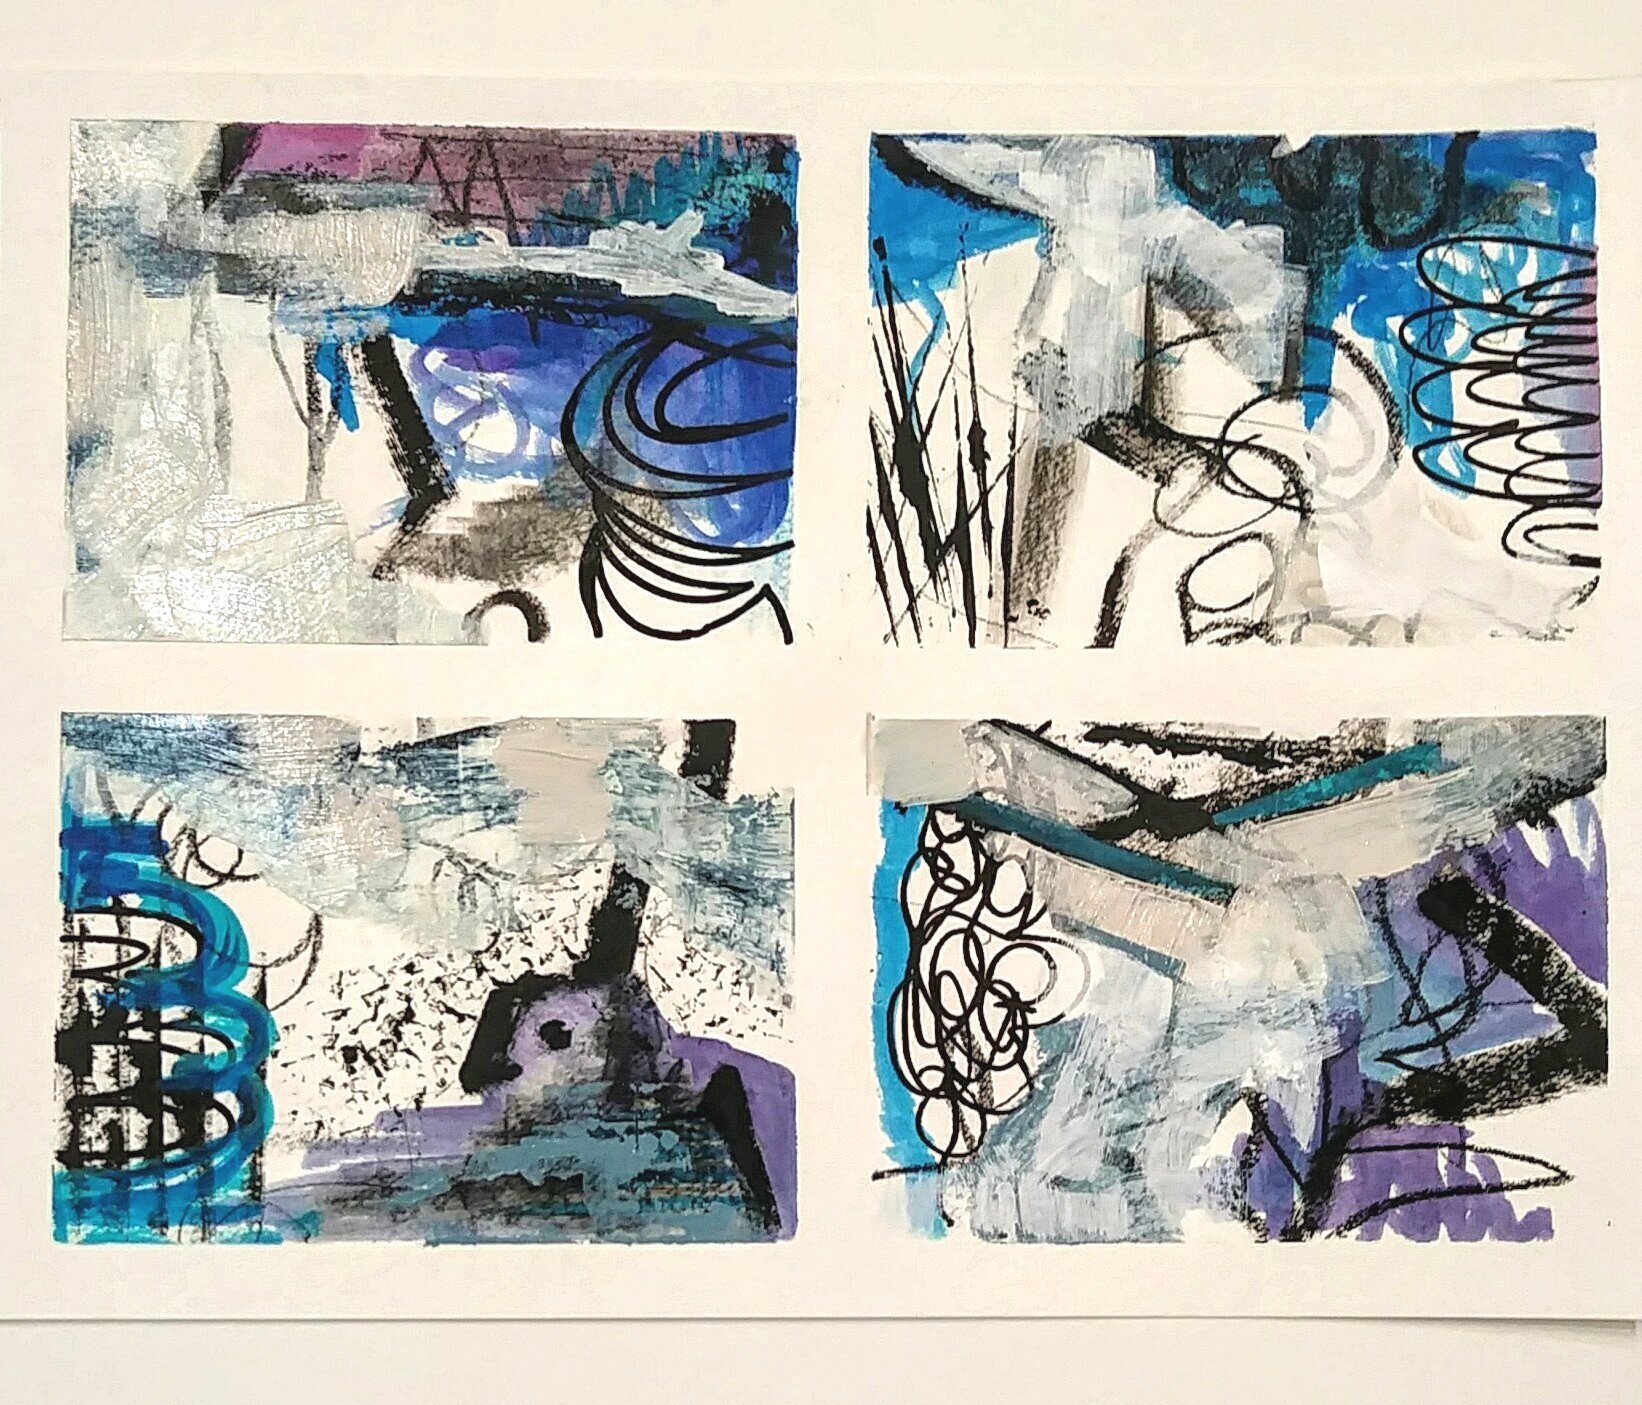
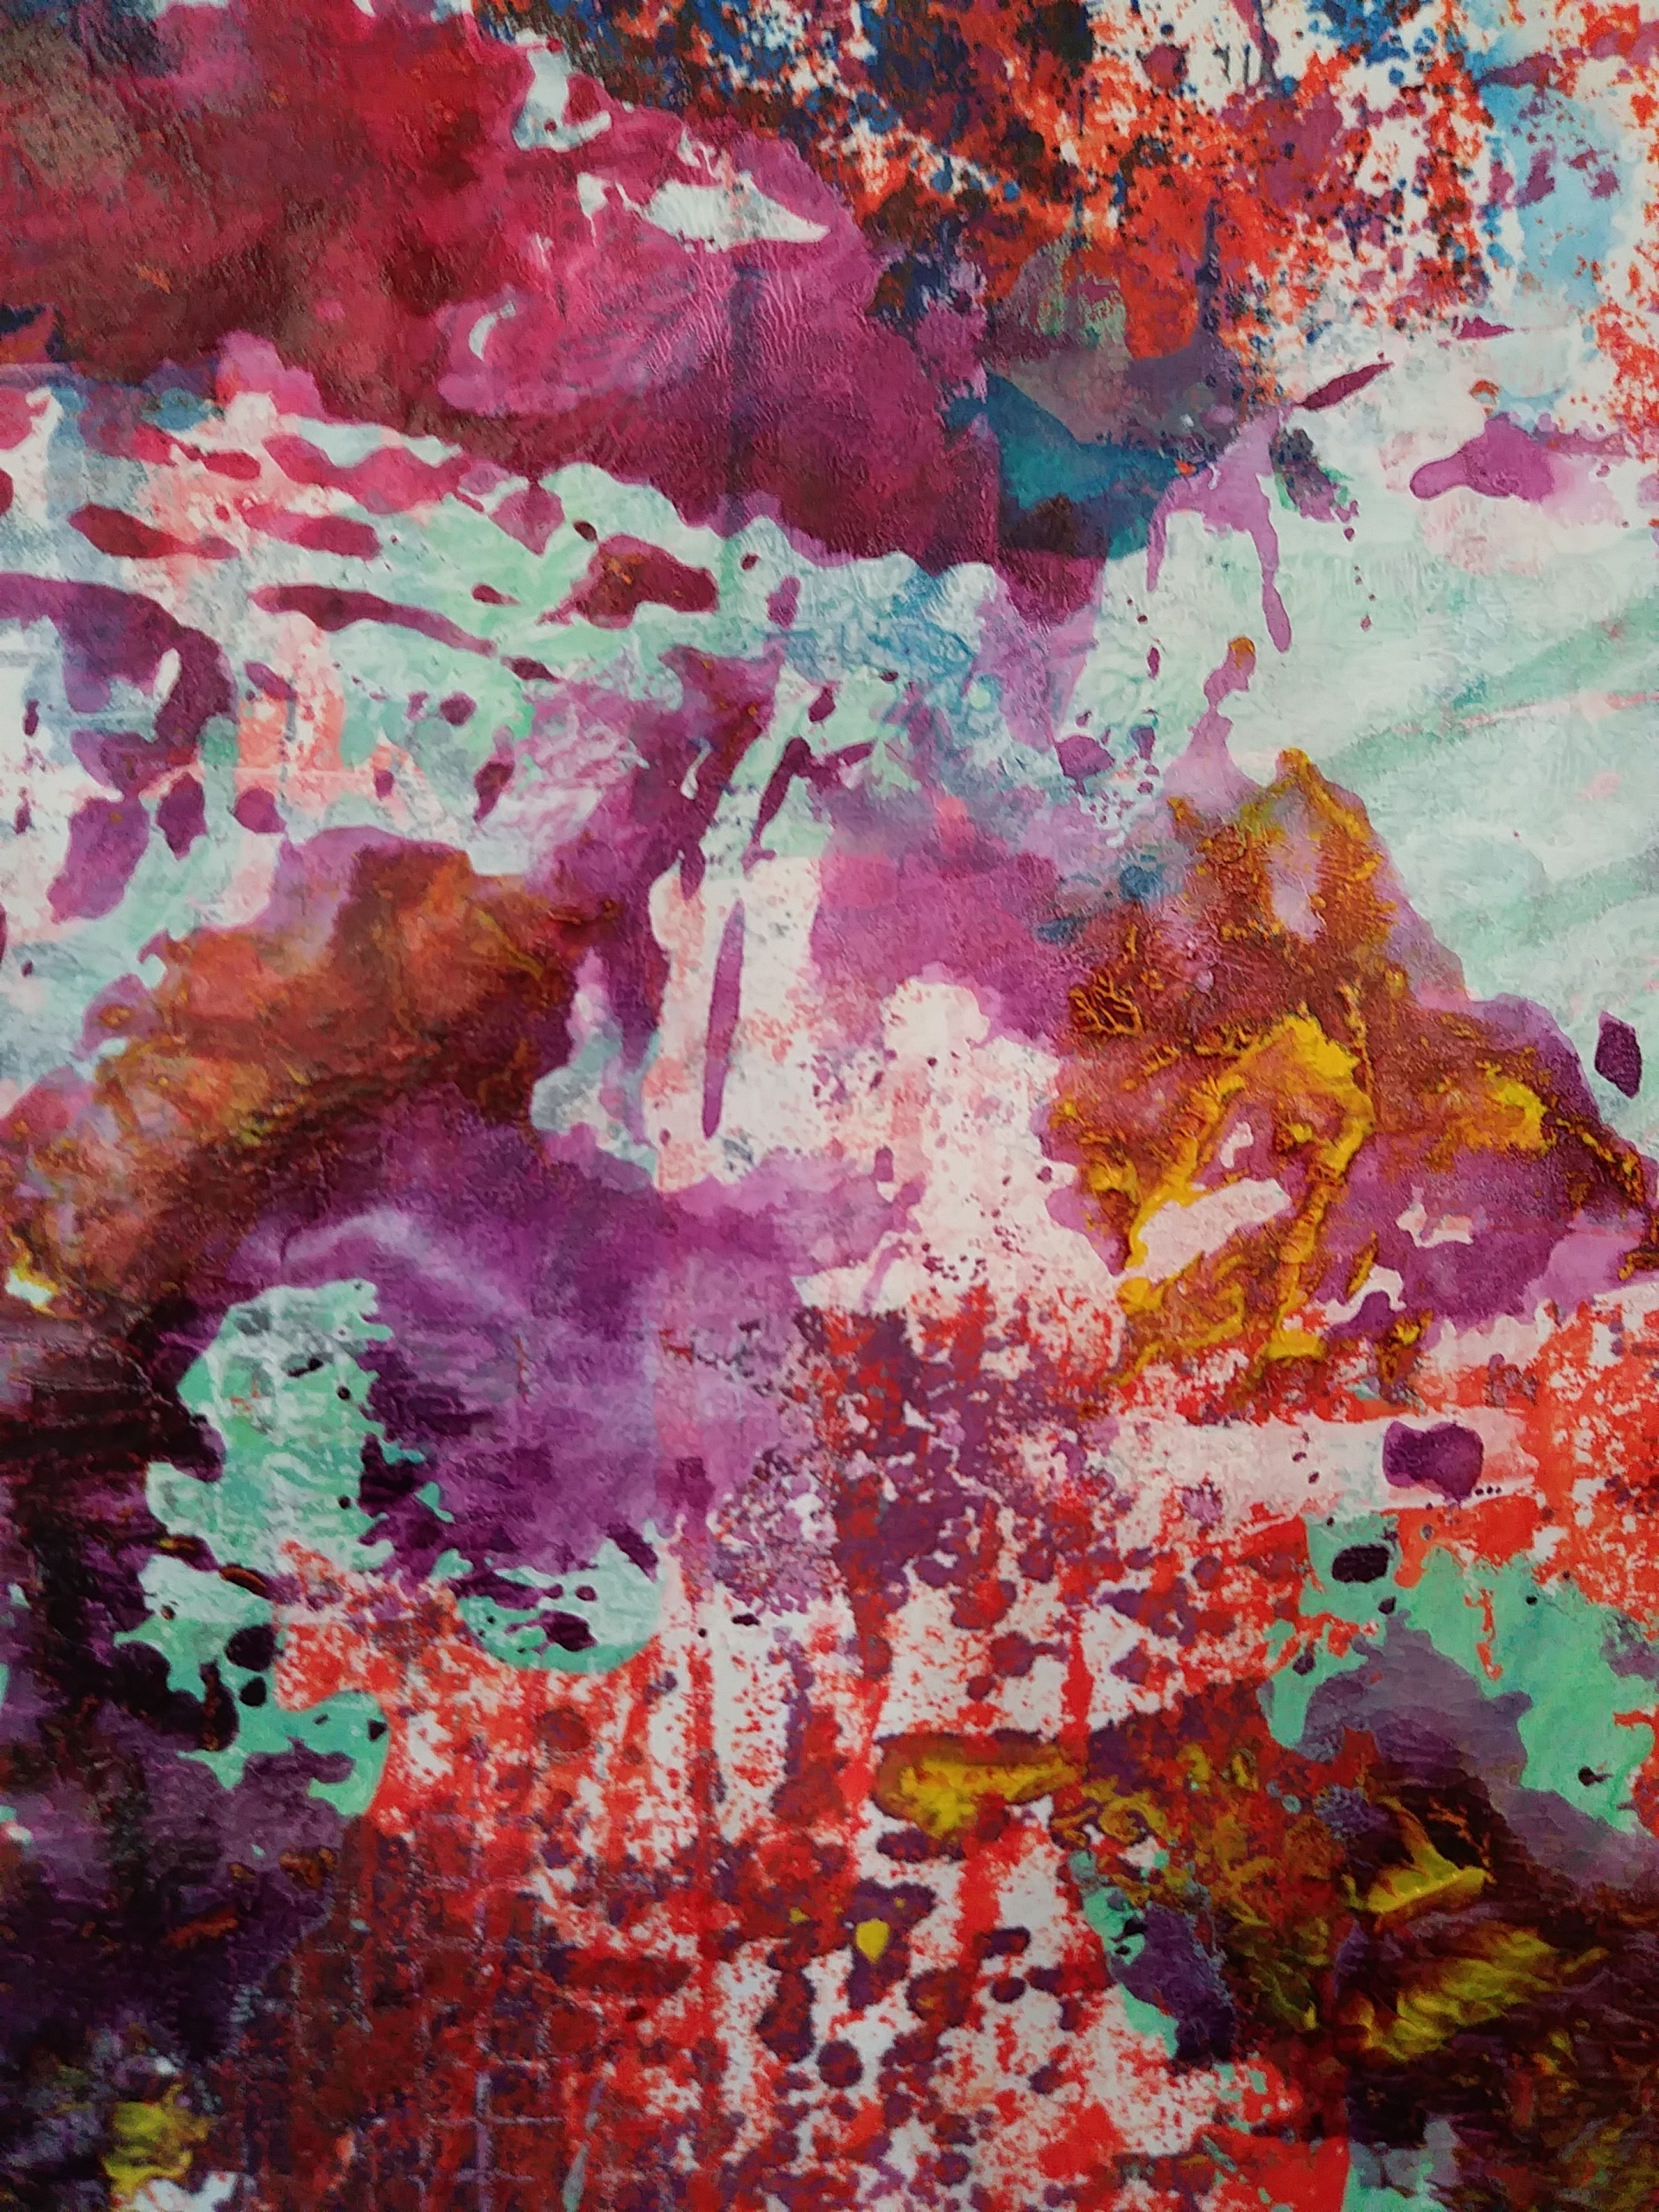
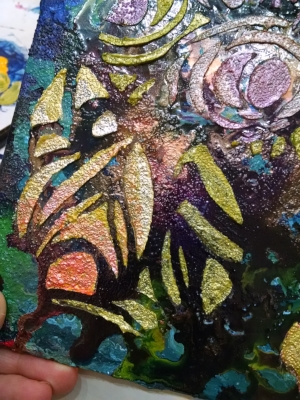
Christine Sauer- Four sections of a larger grid of 5x7” paintings exploring a limited palette.
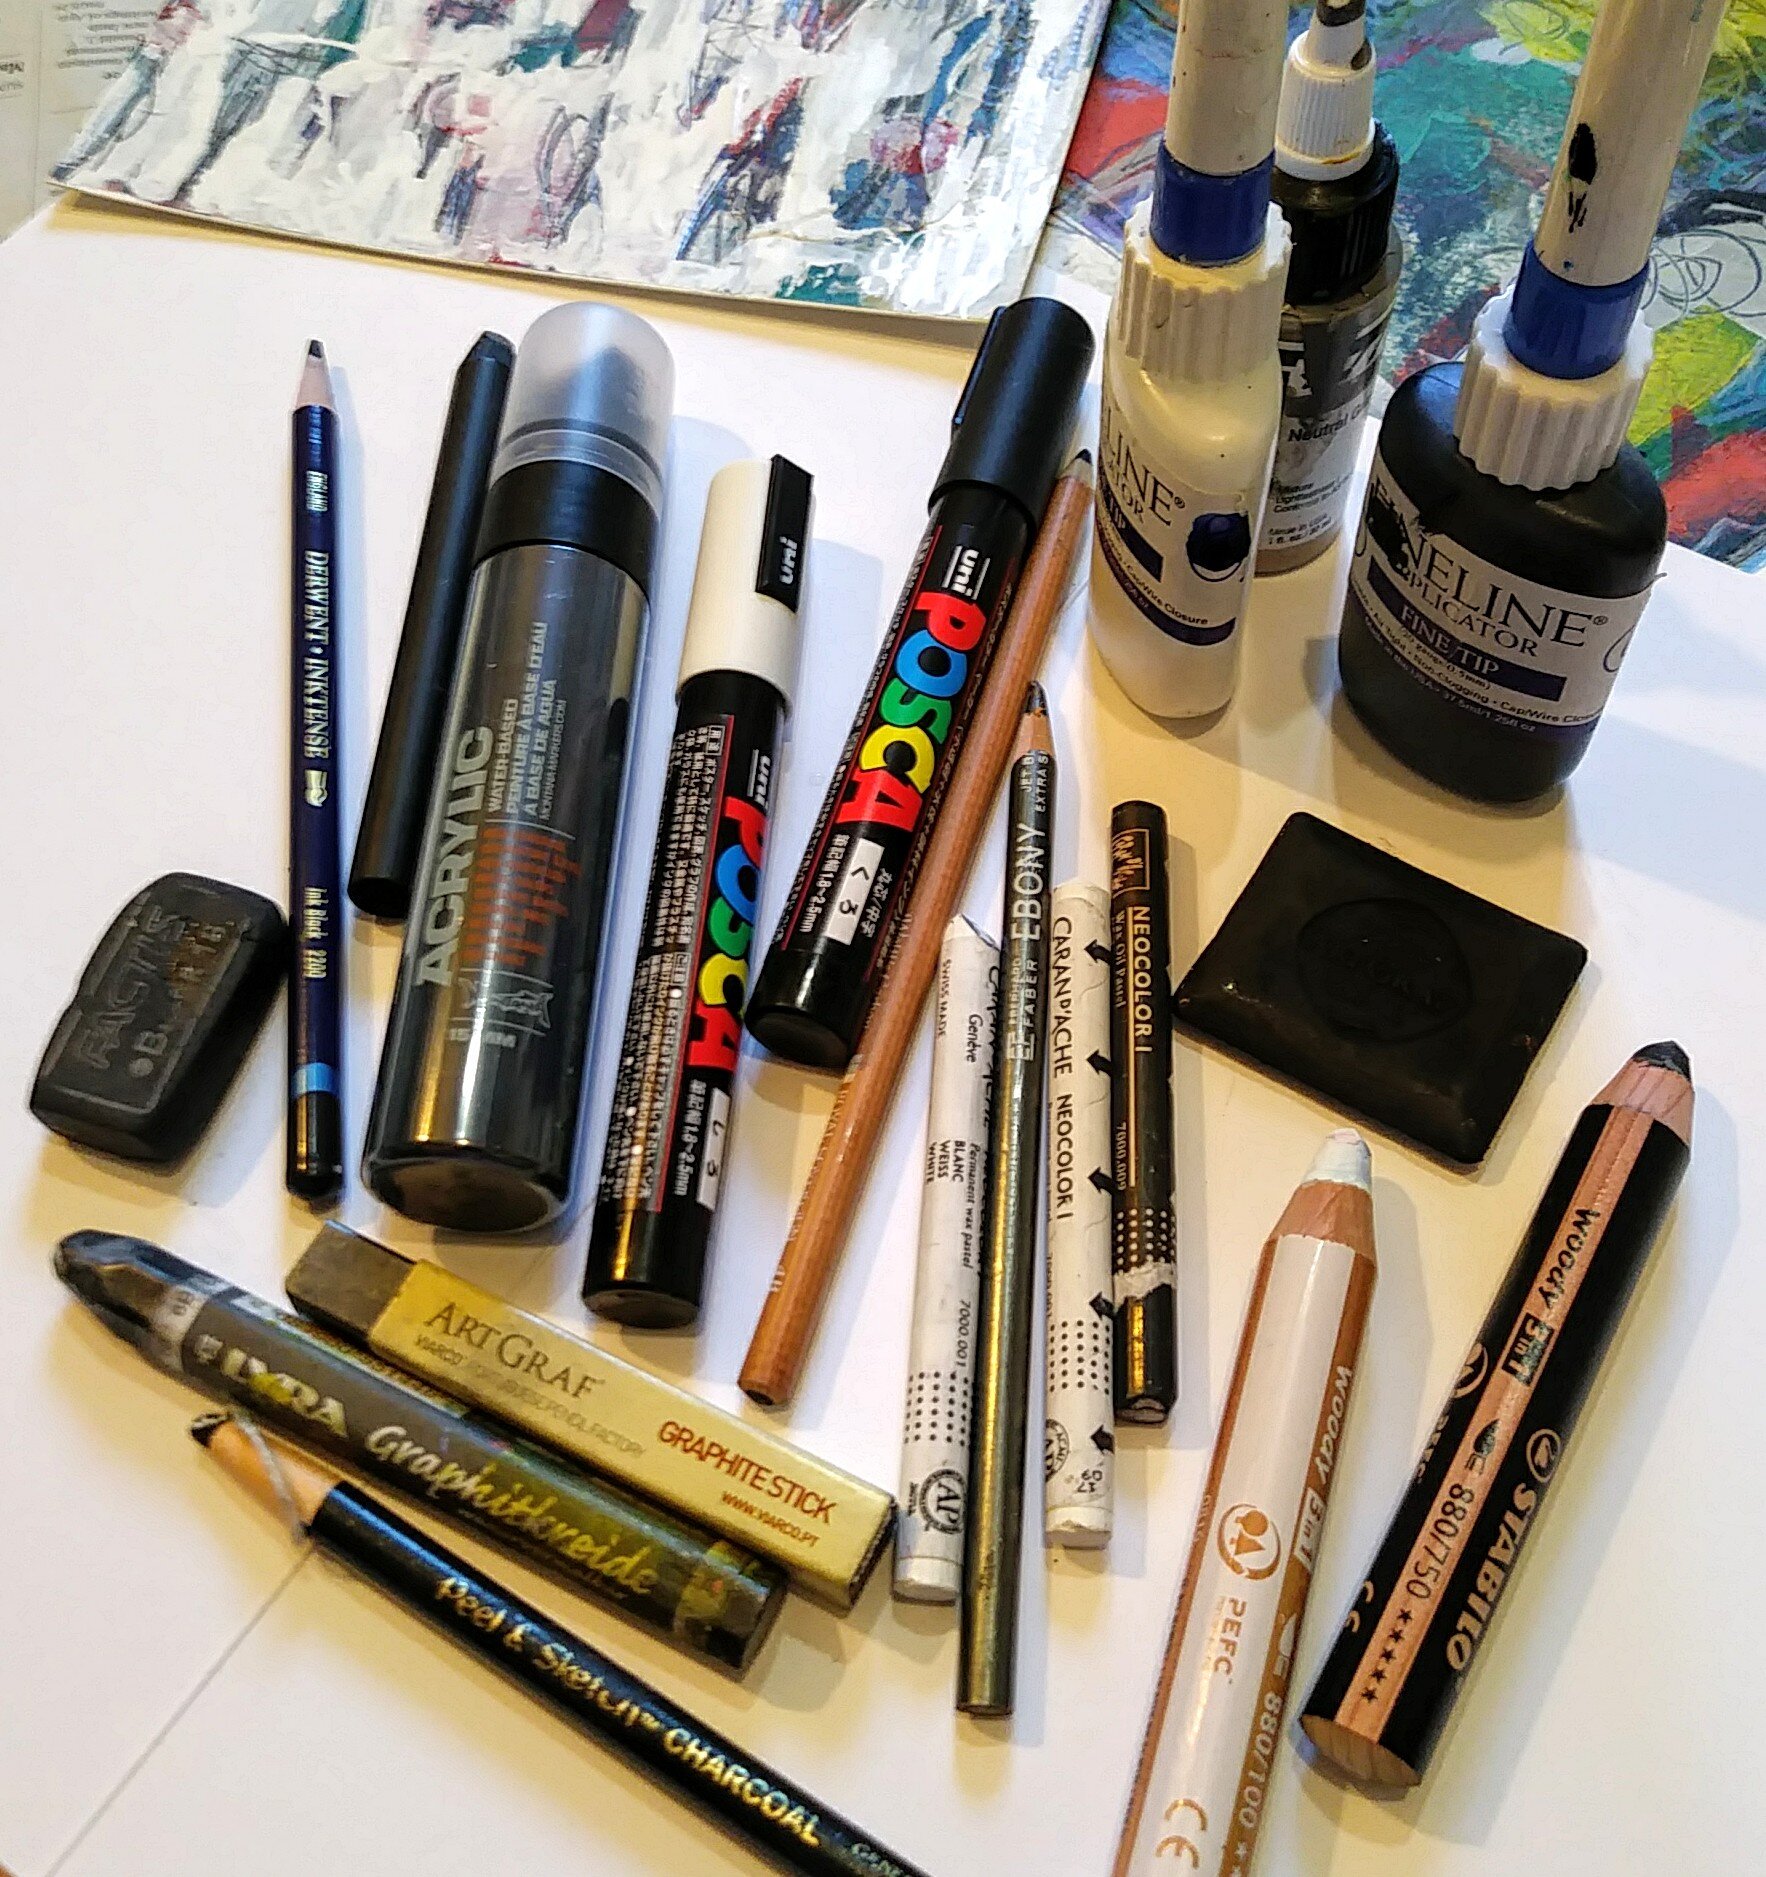
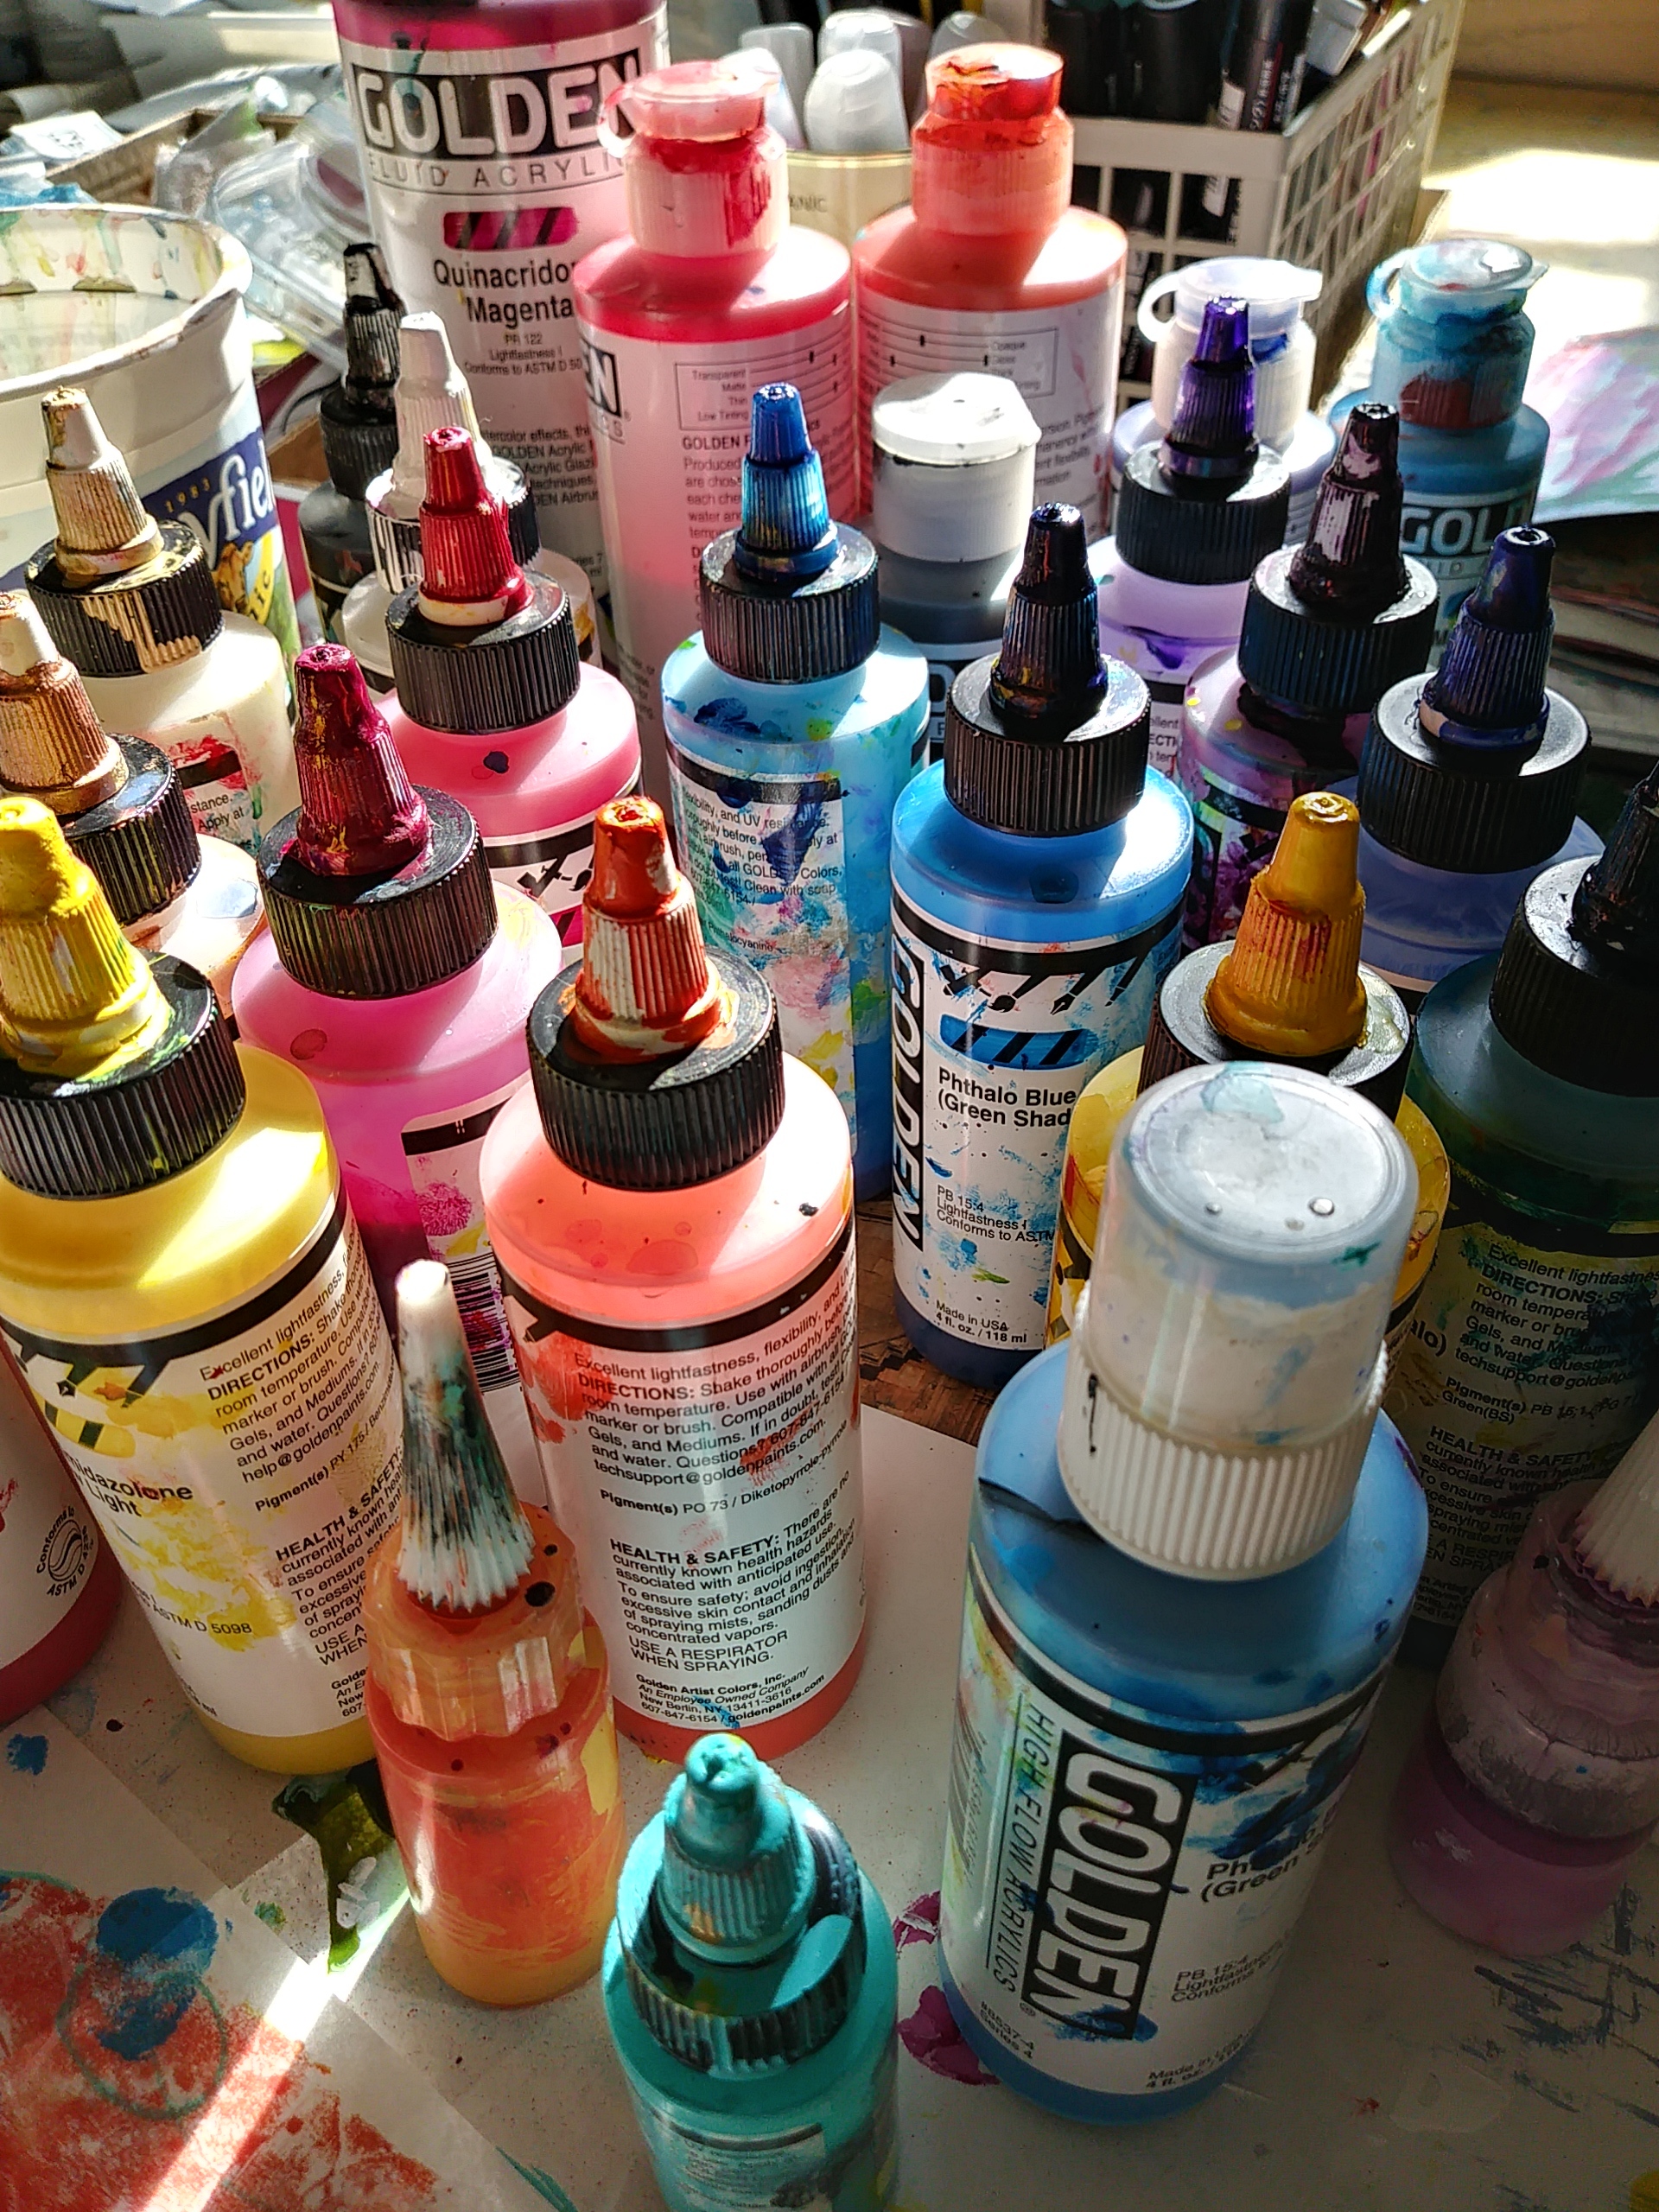
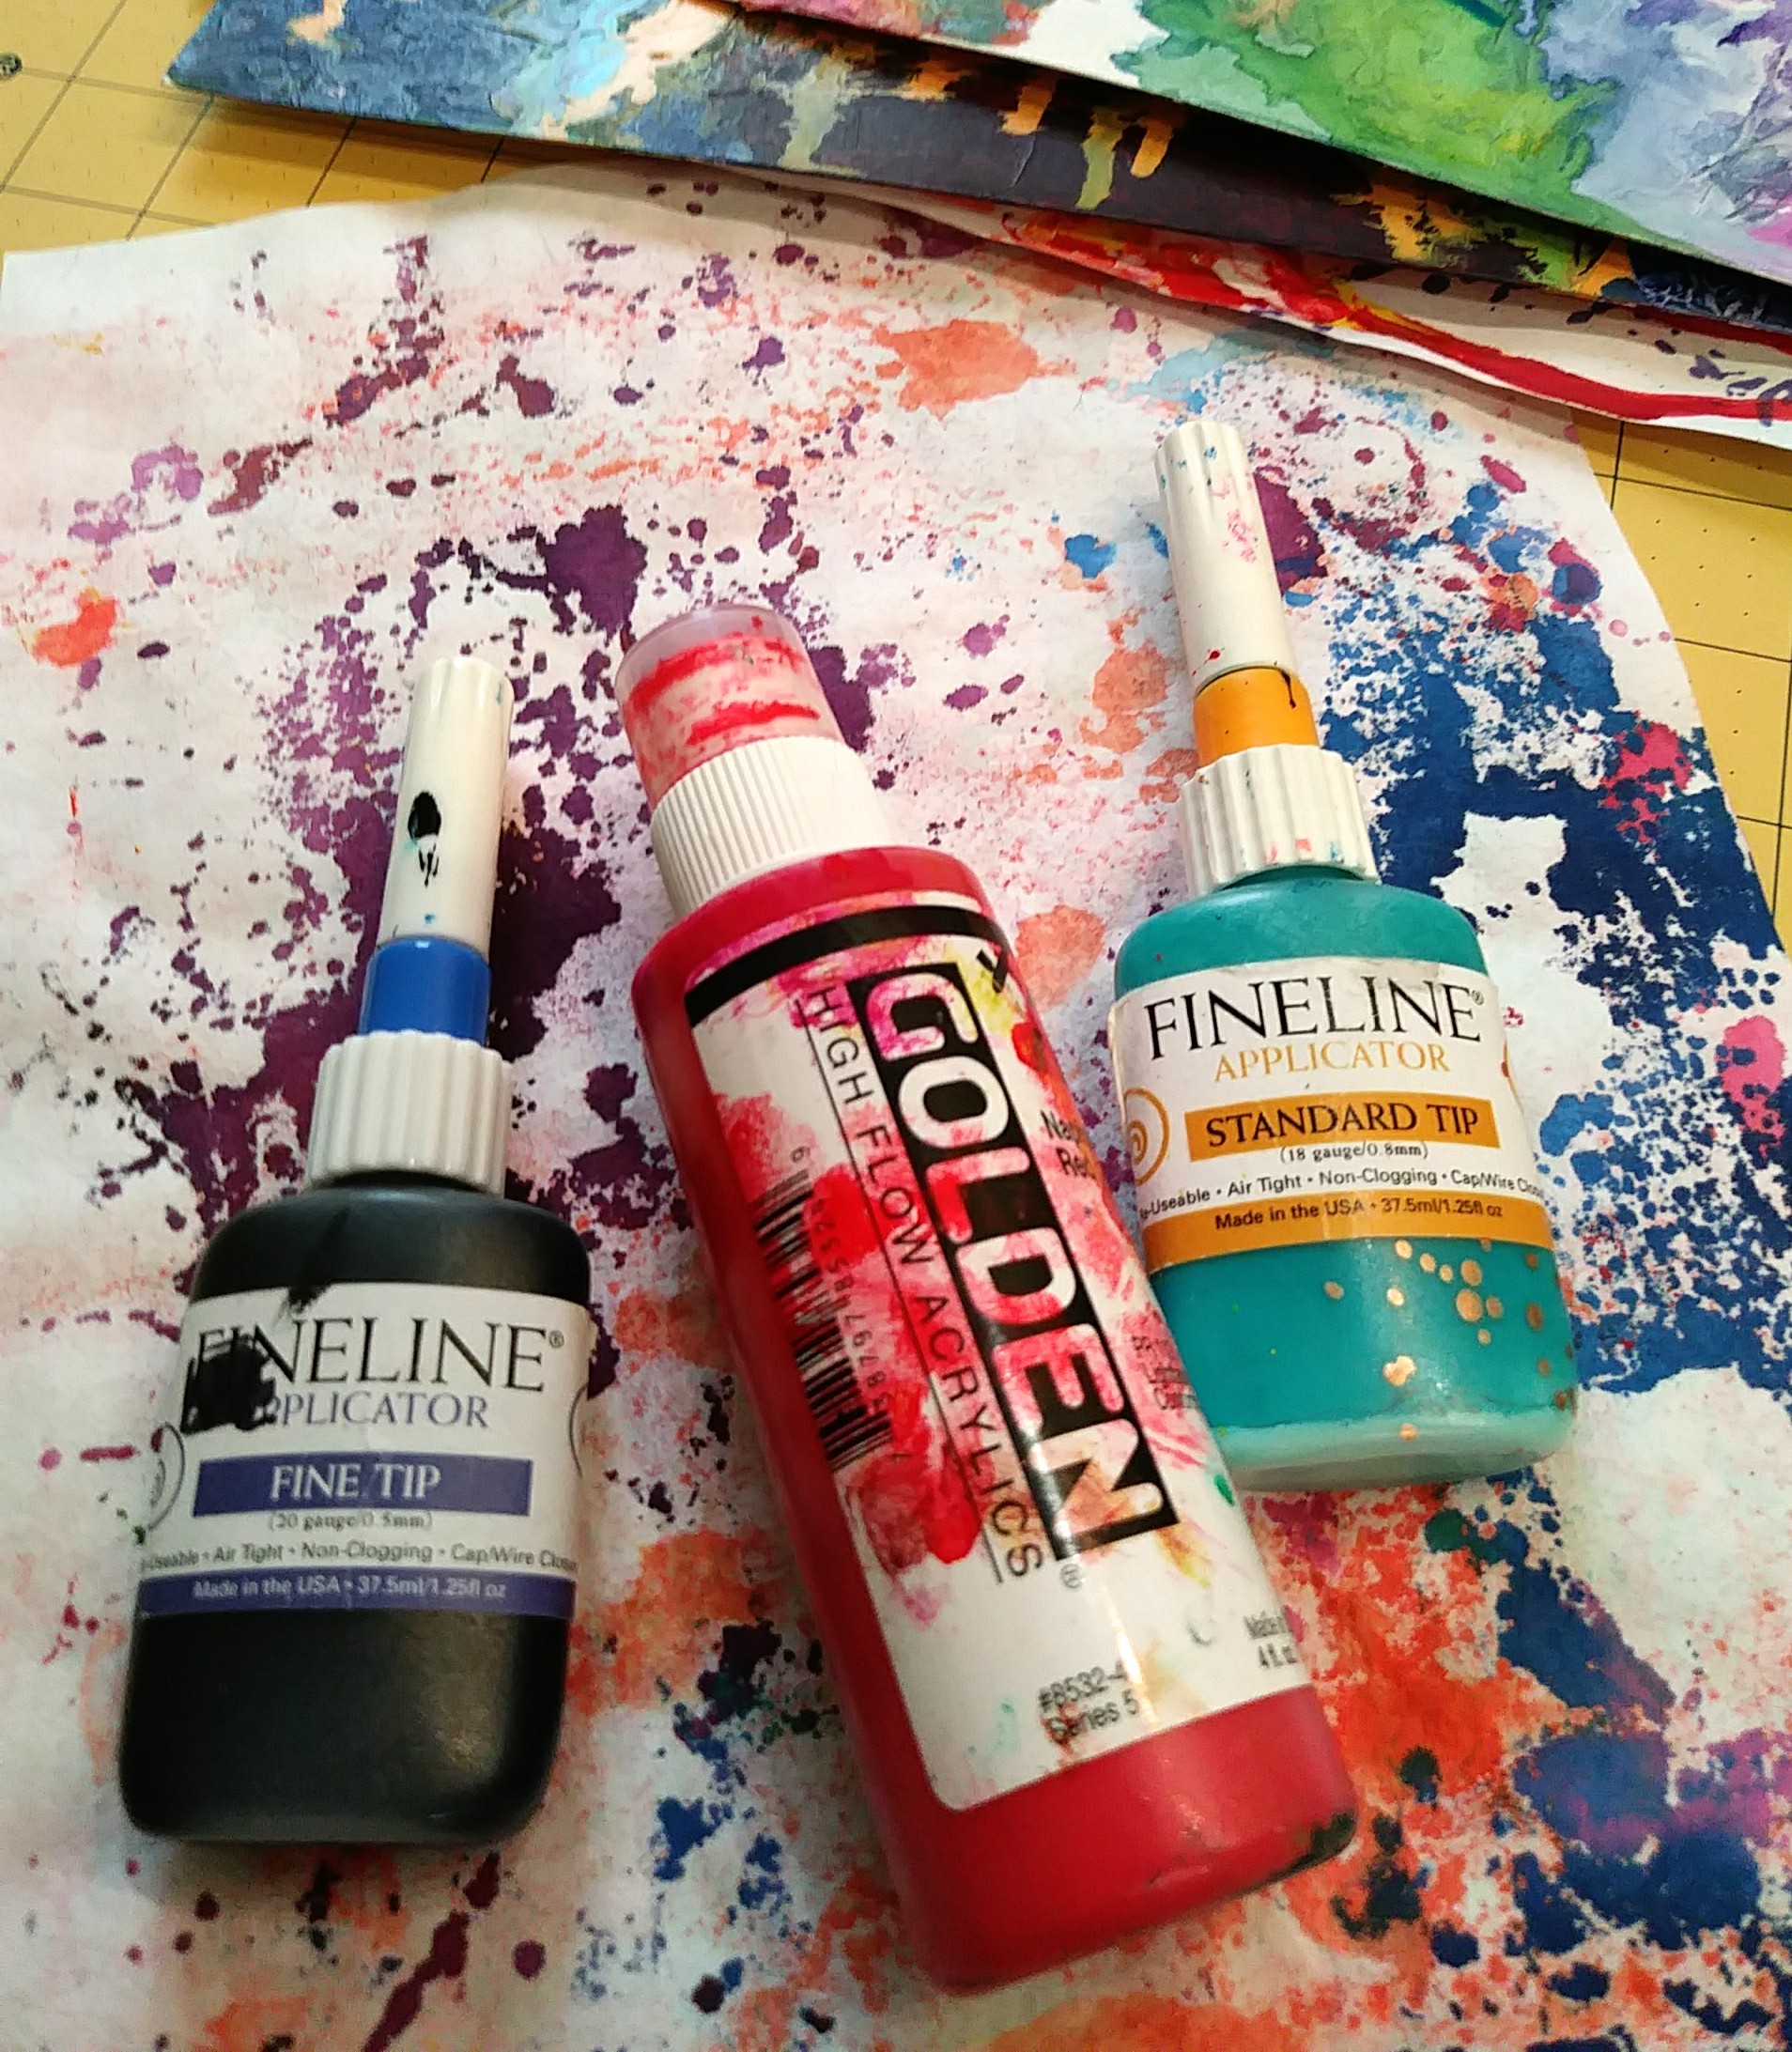
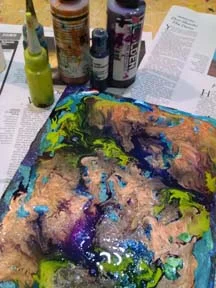
An array of favorite drawing media used to get the process started.
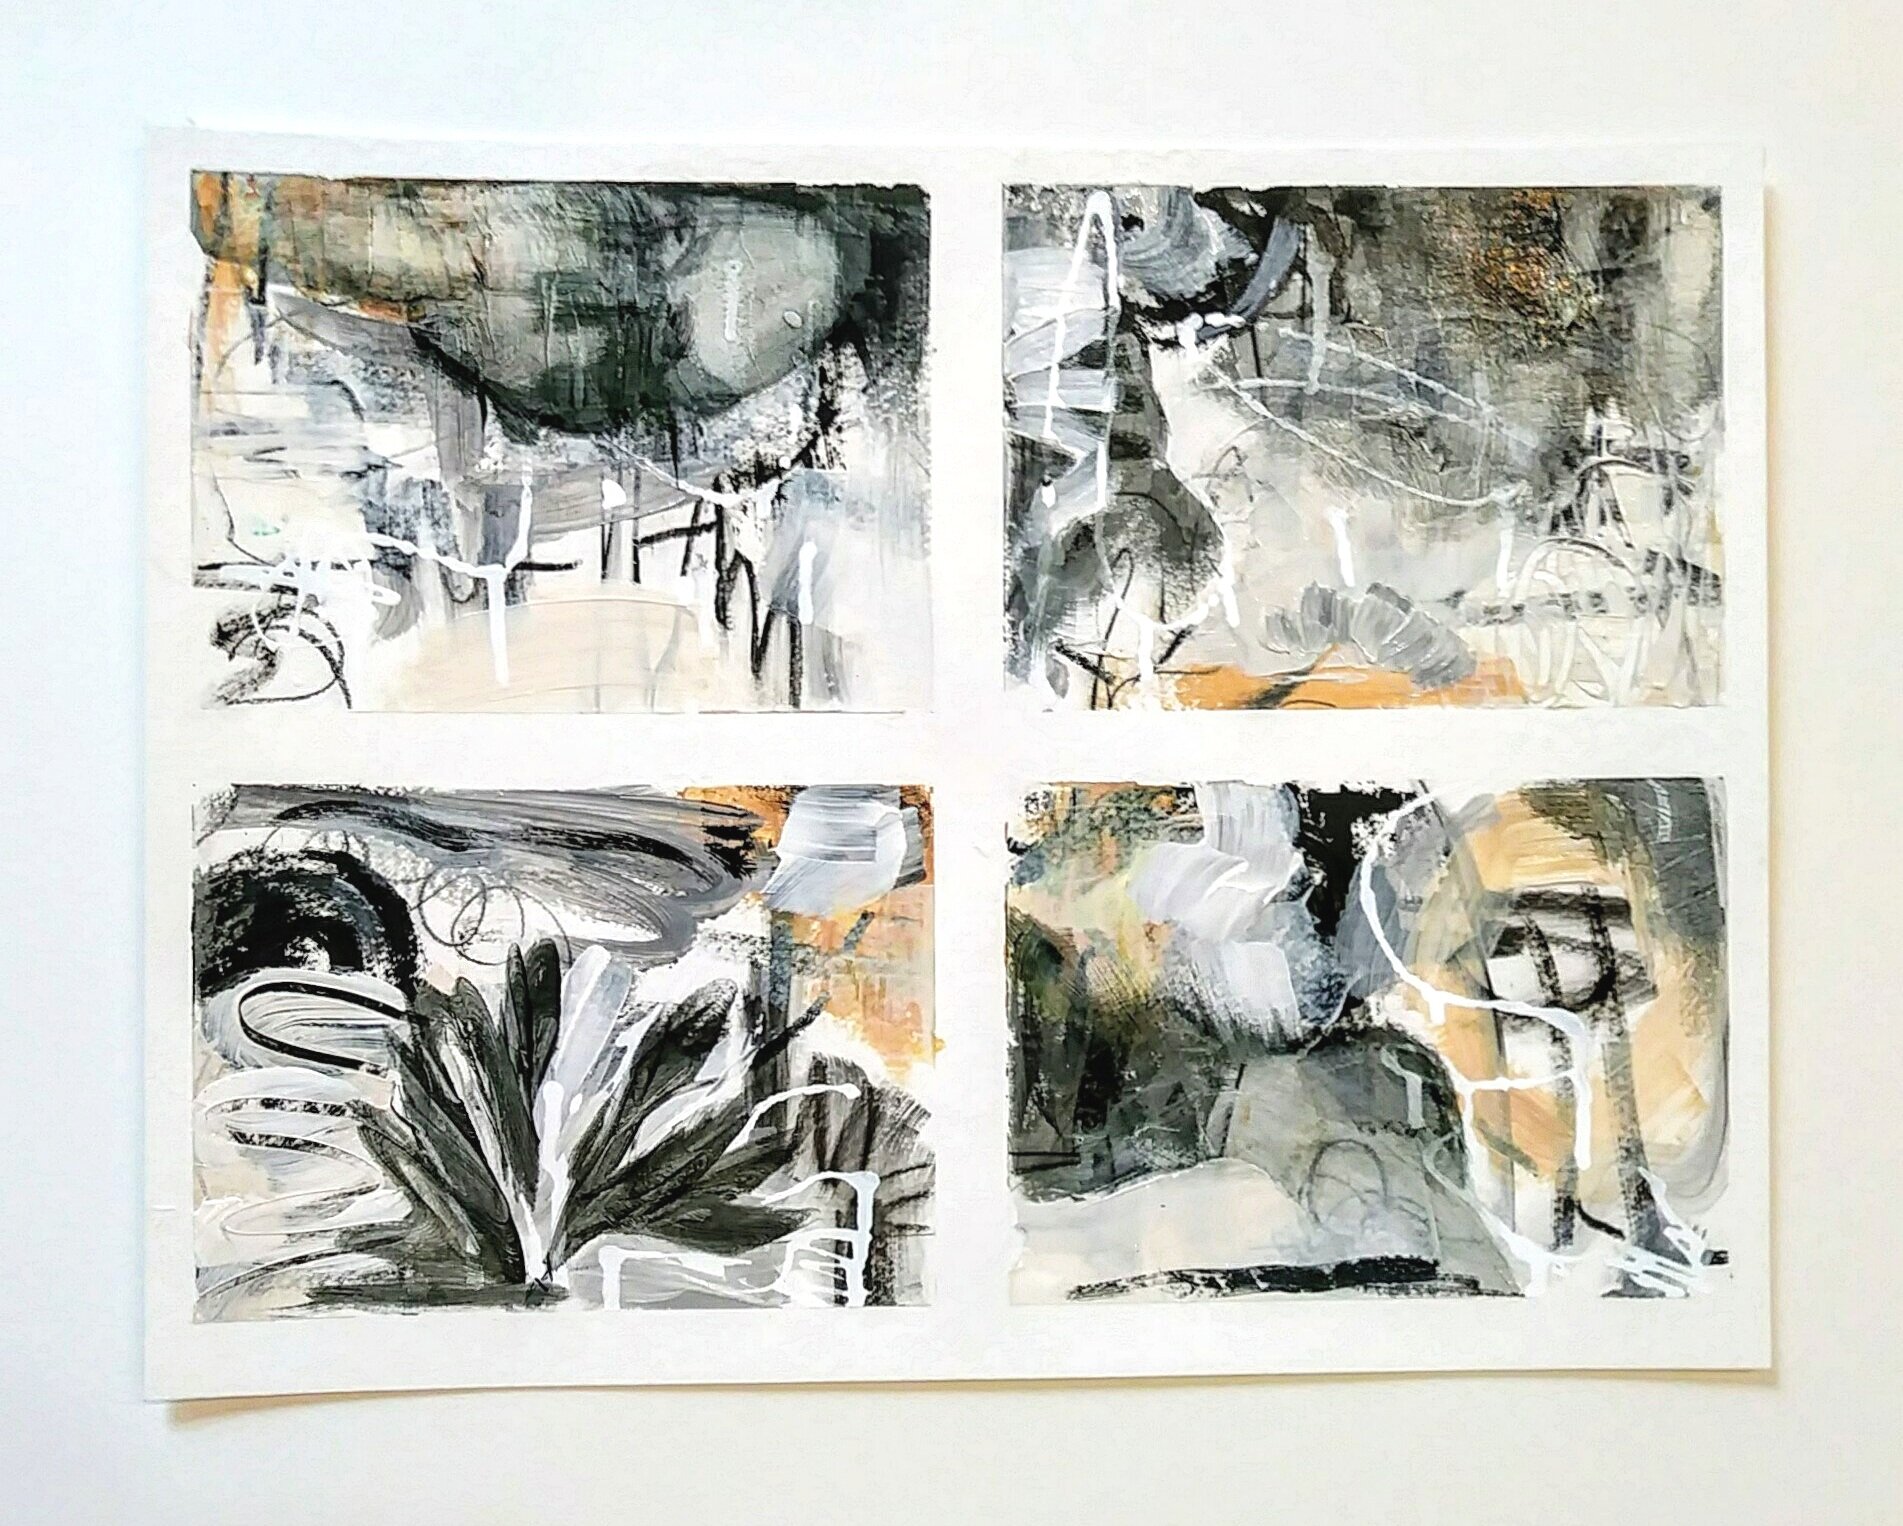
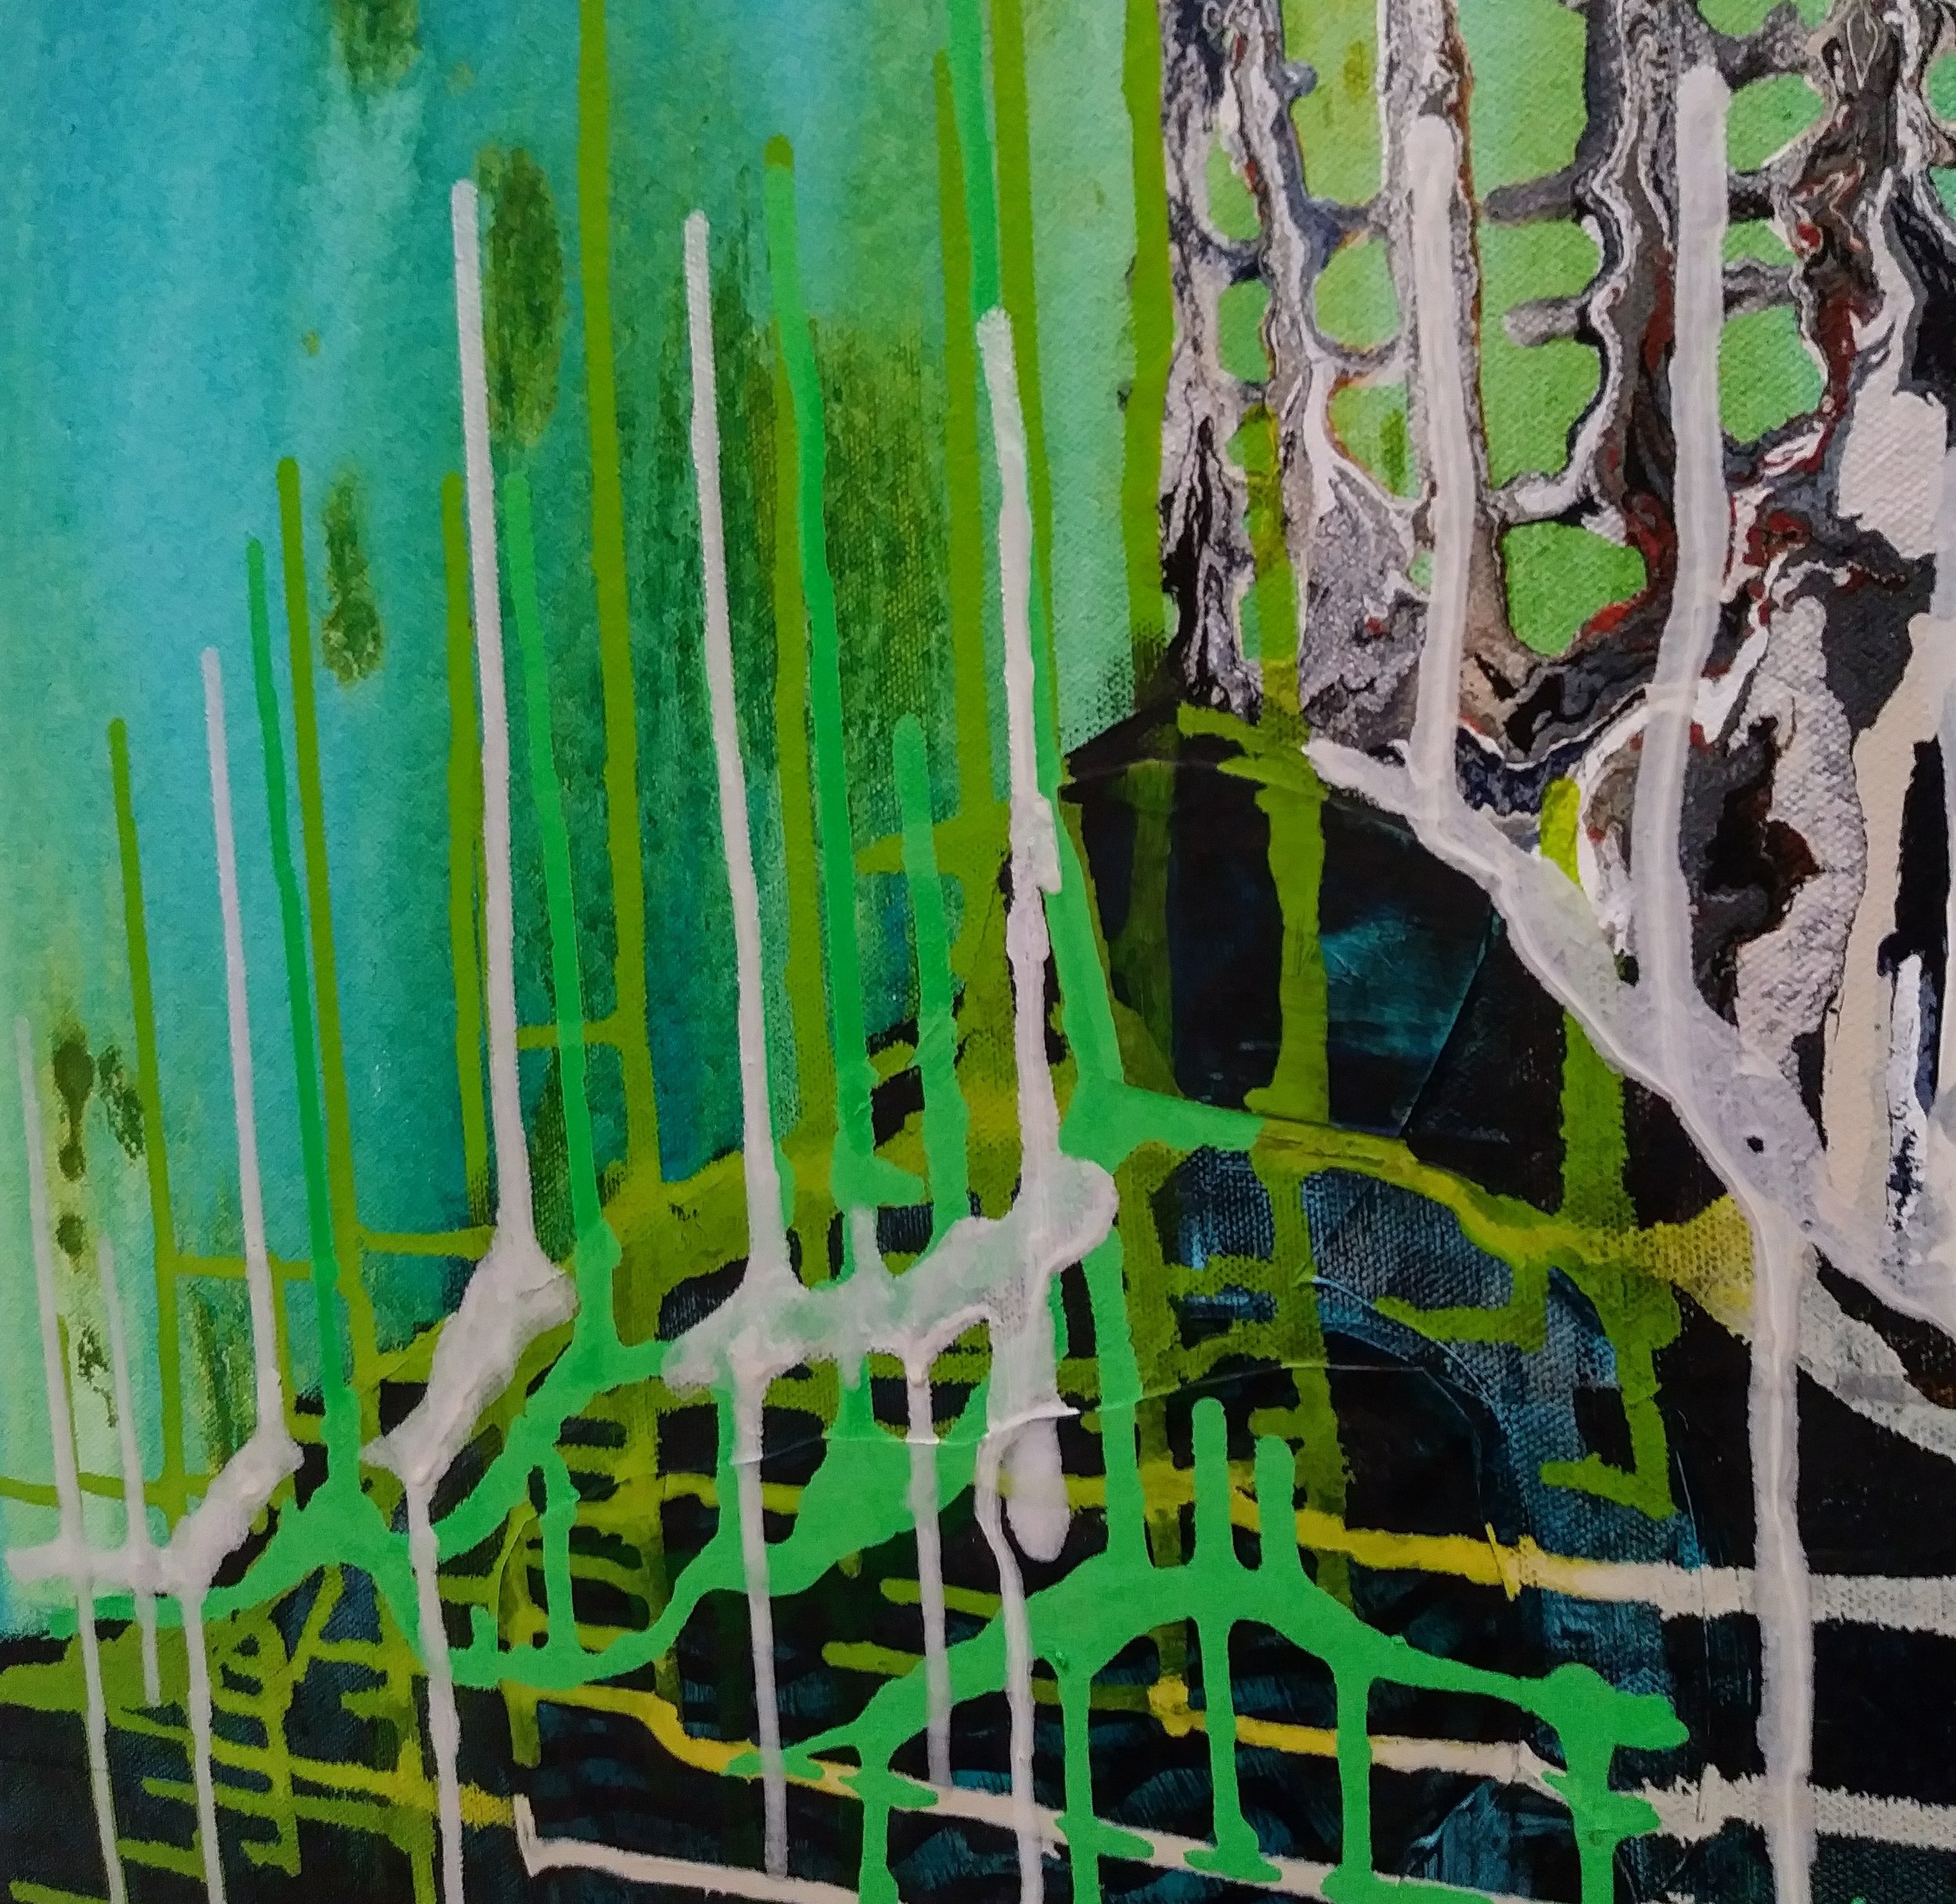
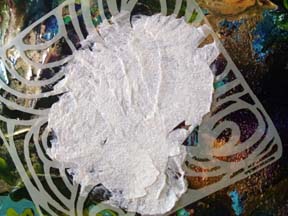
Christine Sauer, Workshop example demonstrating the use of chromatic white.
The process for the paintings above started with mark making as the first layer using a variety of black and white drawing media. Color was added using GOLDEN High Flow and Fluid Acrylics. The 19x25” 185lb Canson Montval Acrylic was taped off with 1” White Pro Artist Tape yielding nine, 5x7” panels. Below is an example of how the panels can be cut apart. Then the artwork can be mounted to cradled panels for display without needing to be shown under glass.

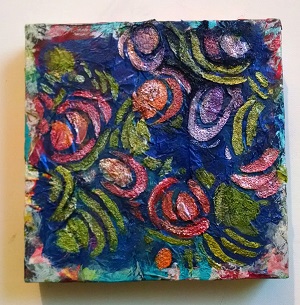
Christine Sauer, 5x7” painting on paper mounted to cradled panel.